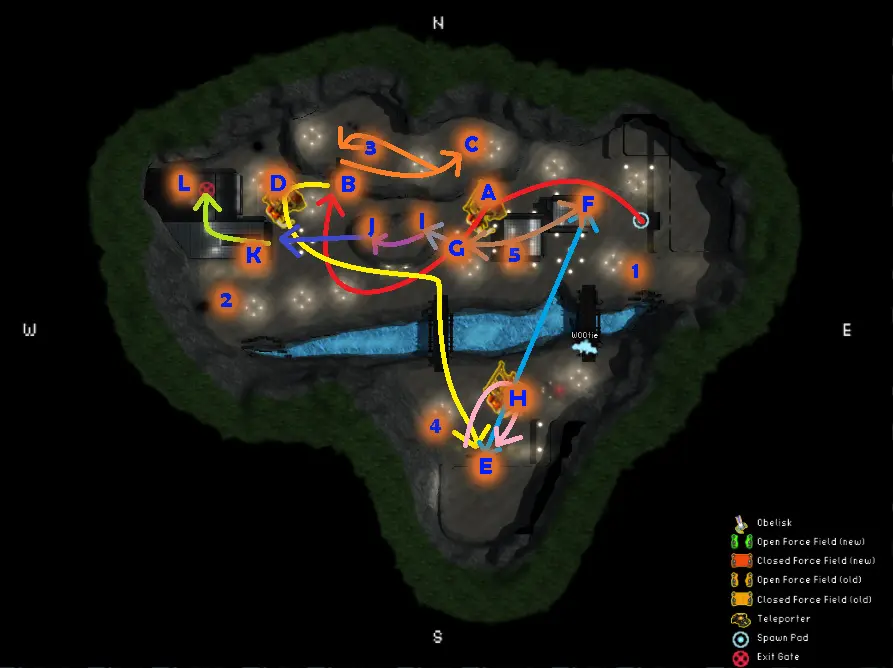
In the second bonus level of the video game Steel Storm, you are presented with the task of turning on a pump system in this nighttime desert map. With this mission you should be starting out with a nice arsenal of weaponry, granted that you escaped Onslaught with them intact.
Level Progression and Tips:
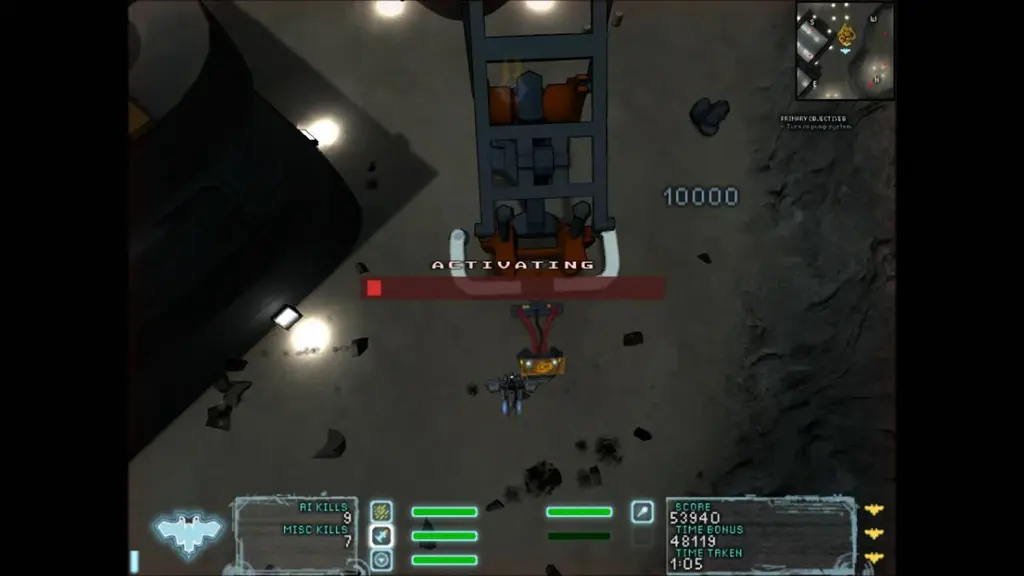
Starting on the red path visible in the picture to the right, head to the first of the 3 pumps you must interact with at point A. This pump is guarded by a Heavy Minigun Tank and is the only one that does not require a keycard. Make sure to stop by point 1if you want to pick up some Homing Missiles.
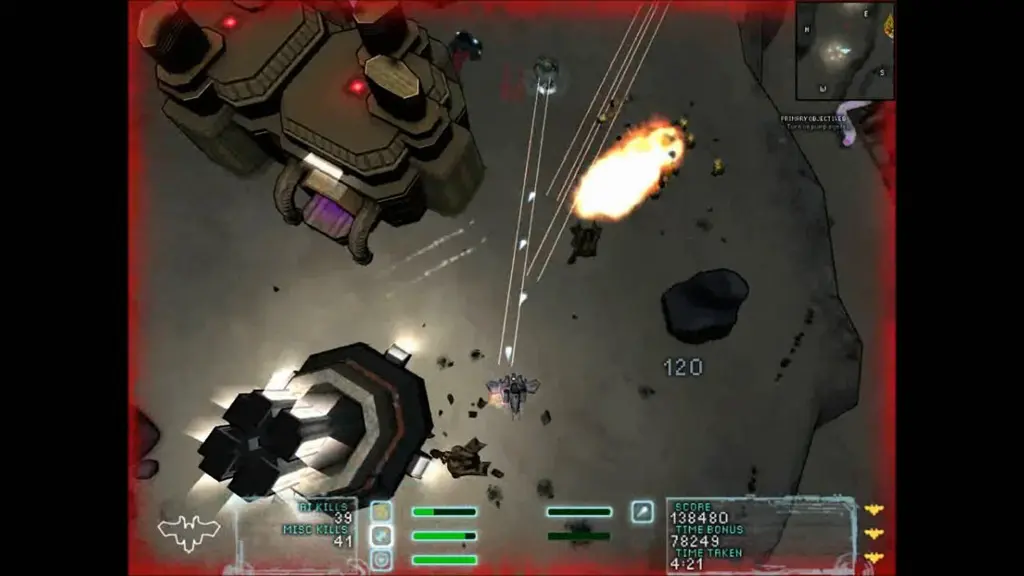
Next, travel around the south side of the plateau the red path curves past, as there are worthwhile crystal pick ups along this path, not to mention more room to dodge fire, on your way to point B. Take the elevator at this point up and head over to point C to download a red keycard from the facility there, watching out for the Heavy Tank that guards it. On your way back to the elevator, you can stop by point 3 for a Storm Spread weapon.
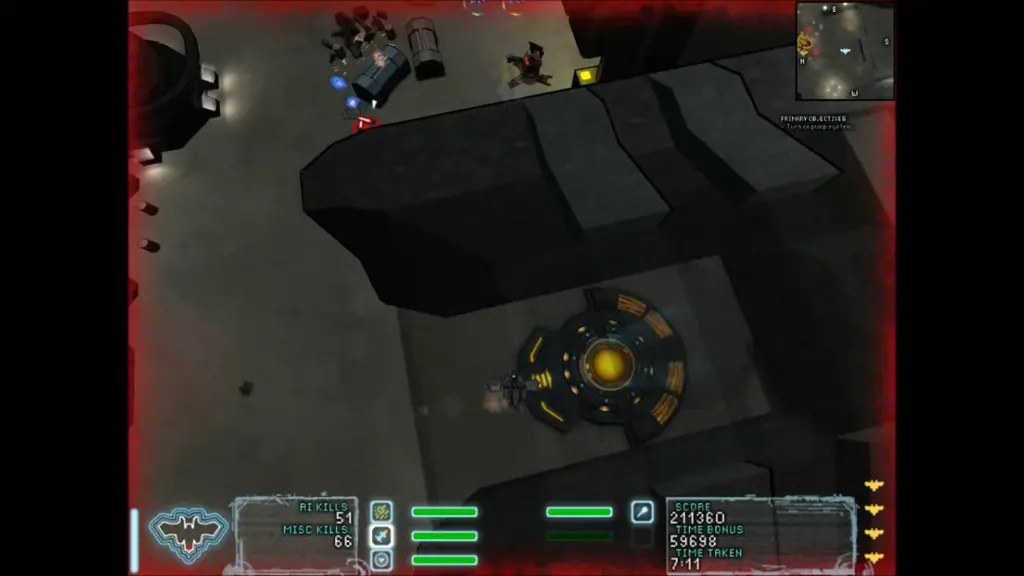
The keycard you now posses should be used on the pump at point D before following the yellow path to the south side of this map, stopping by point 2 if you need to pick up the Shockwave weapon. Upon reaching point E, which is your next destination, you will have to use the teleporter pad to travel to point F along the light blue line. If you want a Storm Shield weapon, you can find one of these at point 4.
After coming out of the Teleporter at point F, travel across the top of the building towards point G where you will find another Teleporter lying after a red keycard. Take this keycard, ignoring the the Teleporter for now and backtrack through the pad at point F, taking note of the Storm Plow at point 5 if you want to pick it up, arriving back at point E. Now you can use the keycard you just picked up to interact with the pump at point H, completing your primary objective.
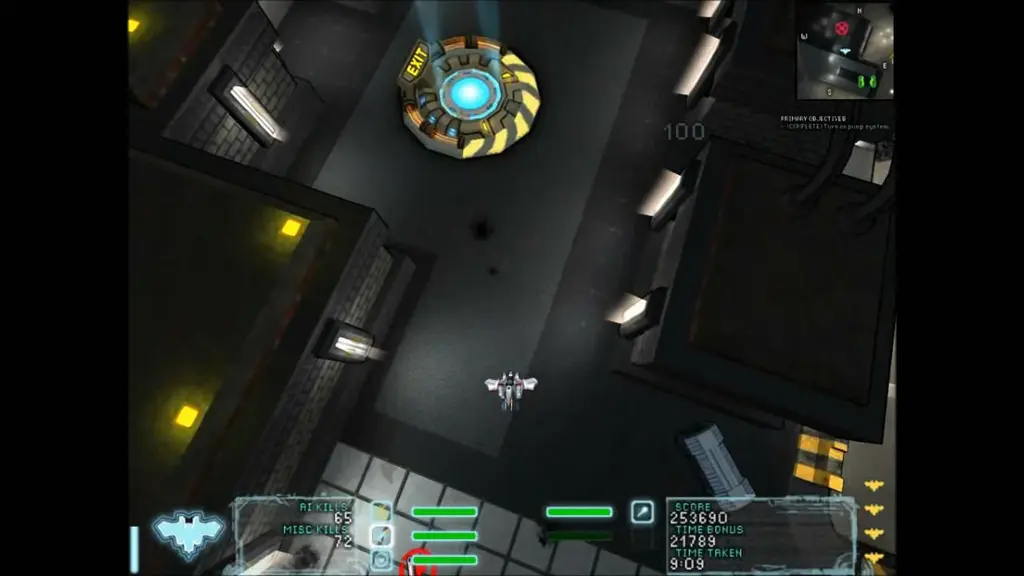
Head once more through the teleporter pad at point E, coming back out again at point F and head back to the Teleporter you previously ignored at point G. Taking this pad will hop you to the nearby plateau at point I where you can find another Teleporter at point J, which will in turn take you to the pad atop the building at point K. Trigger the pad here to deactivate the forcefield and fight your way past one last Heavy Tank (try using the Fusion Core Rack as an explosive trap) in order to secure your departure at the exit pad at point L.
Note: In the video below, this final Heavy Tank does not spawn, on a second playthrough it did, meaning that it depends on how you cross the triggers that lie just after the disabled forcefield. Keep this in mind.
