The Burning Retribution episode of Steel Storm starts off with Below Zero – Frozen Canyon where you are dropped onto the surface of a frozen meteorite travelling through space where it is believed there is a massive buildup of enemy forces and facilities.
Level Progression and Tips:
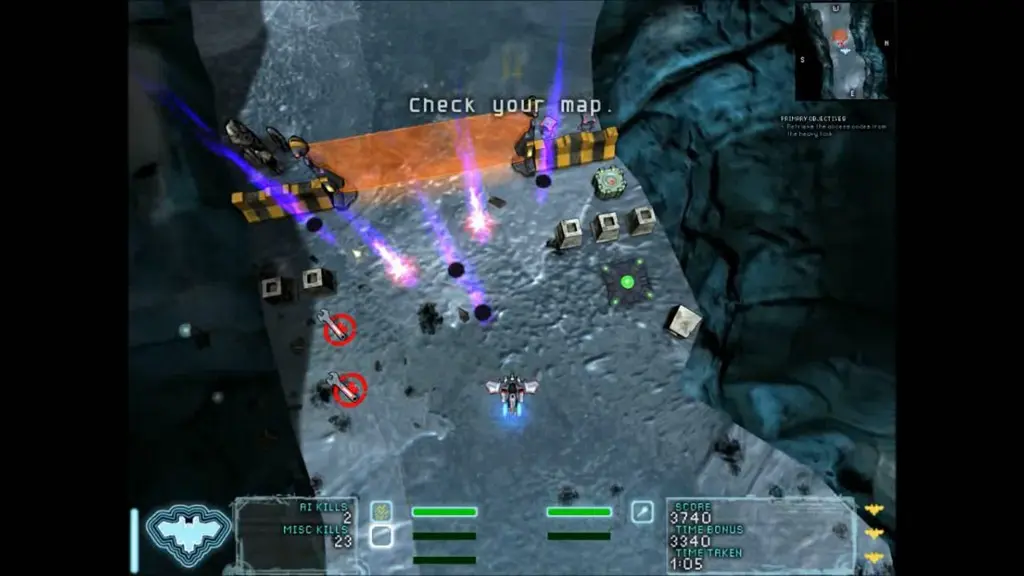
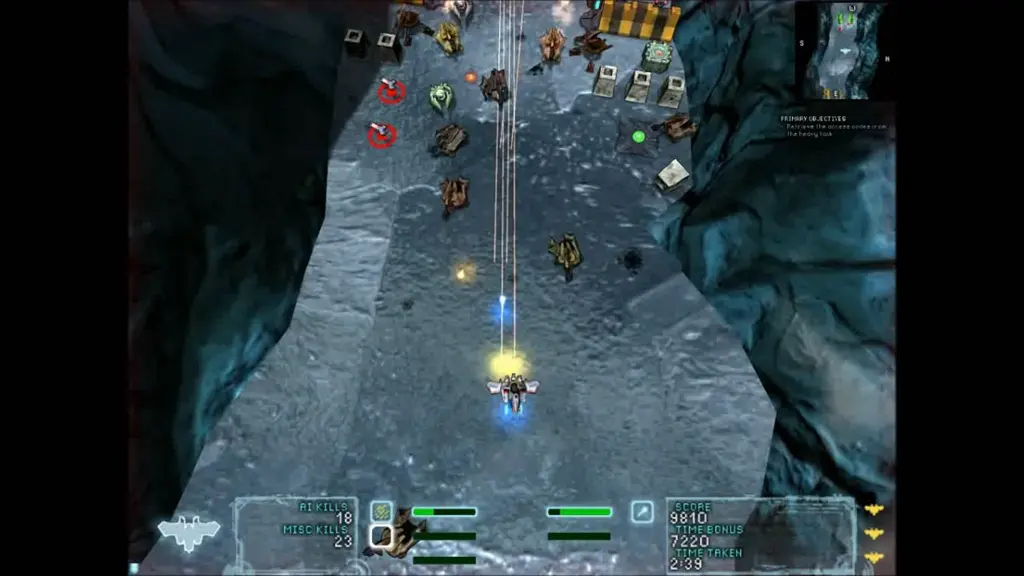
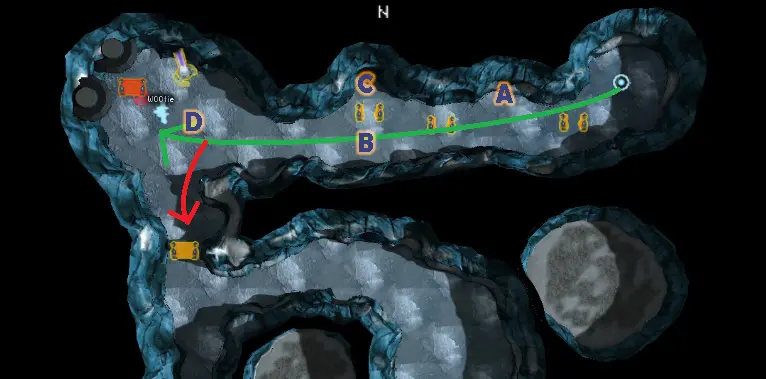
You will start off in an enclosed area with some shields and the Storm Plow to pick up since you are now back to the Minigun only with the start of a new episode. Grab these items and break the rock wall to get to point A which will begin the first in a series of ambushes that make up the primary flow of this level. Once you make it close enough to the currently open force field leading to point B, the gate will close and you will be assaulted by a series of spawned Light and Medium tanks along with 3 Light Plasma Turrets. Once defeated you can step on the trigger pad next to the forcefield to deactivate it and continue on.
Arriving at point B begins the second ambush, bringing up the next forcefield that was previously open and trapping you once more in an enclosed space to fend off additional waves of enemies. You can pull back towards point A which the field towards will stay down allowing you to give yourself more room to face the enemies. The most significant threat here is a trio of Lightning Tanks that spawn as part of the initial attack.
Fending off these units will drop the field around point C, allowing you to pick up the Flak Cannon there and some bonus crystals and in doing so, spawn additional attack units, primarily in the form of a Repair Turret just outside the field around C. Drop this new turret fast to prevent it from resurrecting too many units. If you pulled the enemy towards point A previously, this will be less of an issue.
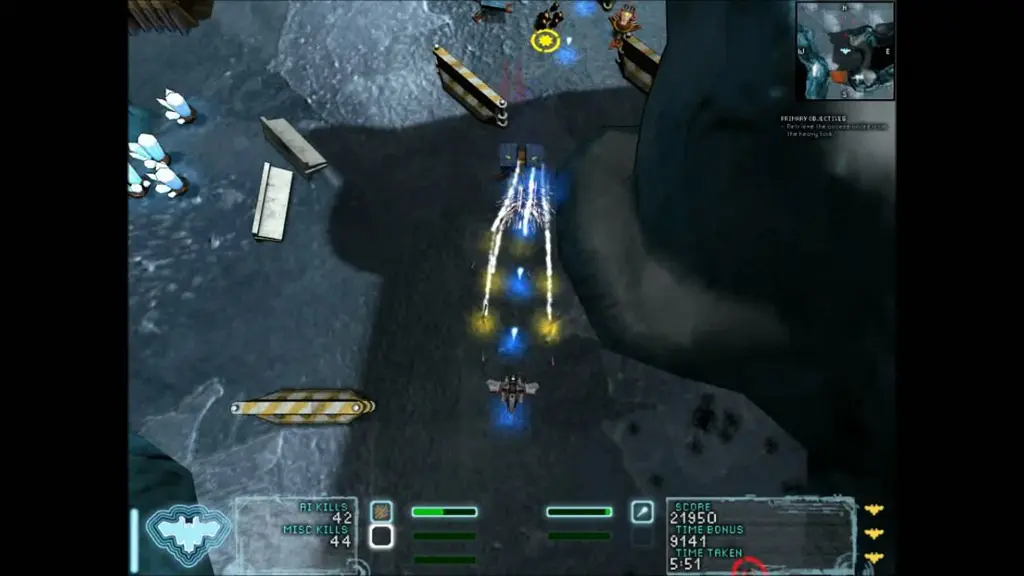
Pick up the second Storm Plow on the way to point D if you lost the weapon previously before approaching the final ambush area in this level. Here you will be attacked by even more tanks with a pair of Repair Turrets to support them. Either pull the enemy far back or if you’re feeling lucky, rush the Repair Turrets, although the pulling back option is far more survivable. Once you’ve cleared up the area, you can approach the exit pad which will activate a forcefield around it before following the red arrow to activate another forcefield that permanently blocks off the southern section of the map.
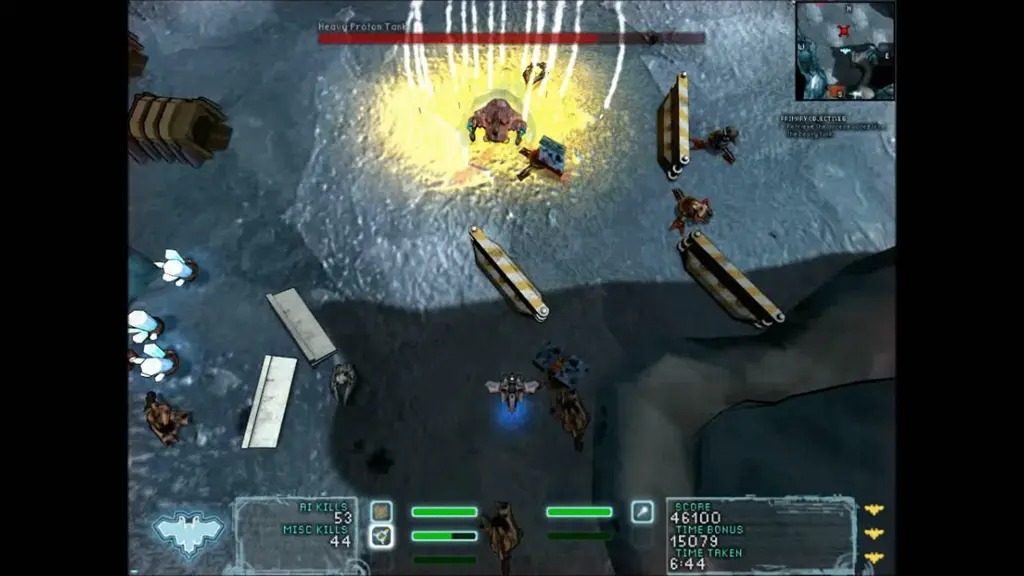
Once this second forcefield comes up, the MIRV will spawn to the north of you and soon after, a pair of Rocket Turrets and a Light Plasma Turret. Use caution in engaging these Rocket Turrets which can be quite deadly, even at farther ranges considering it’s missiles travel further than the Rocket Pod’s do. Once these are down, pick up the MIRV to get your first secondary weapon and finally spawn the last target of this mission, the Heavy Proton Tank.
You can make effective use of the MIRV’s up-and-over travel path by hiding behind obstacles while raining down ordnance on the heavy tank. Once you’ve dropped your target you can head to the now open exit pad and complete the Frozen Canyon level.
