Now making your way deeper into the base, Crushing Shackles – Follow the Mole in Steel Storm Burning Retribution has you paired up once more with the allied tank, infiltrating deeper through a teleporter network used to transfer troops of the enemy’s.
Level Progression and Tips:
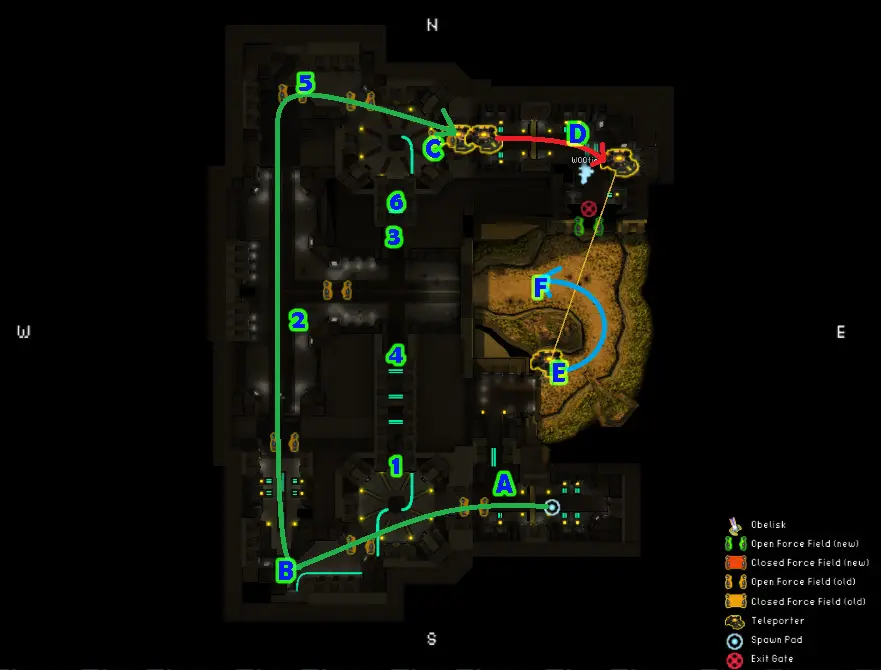
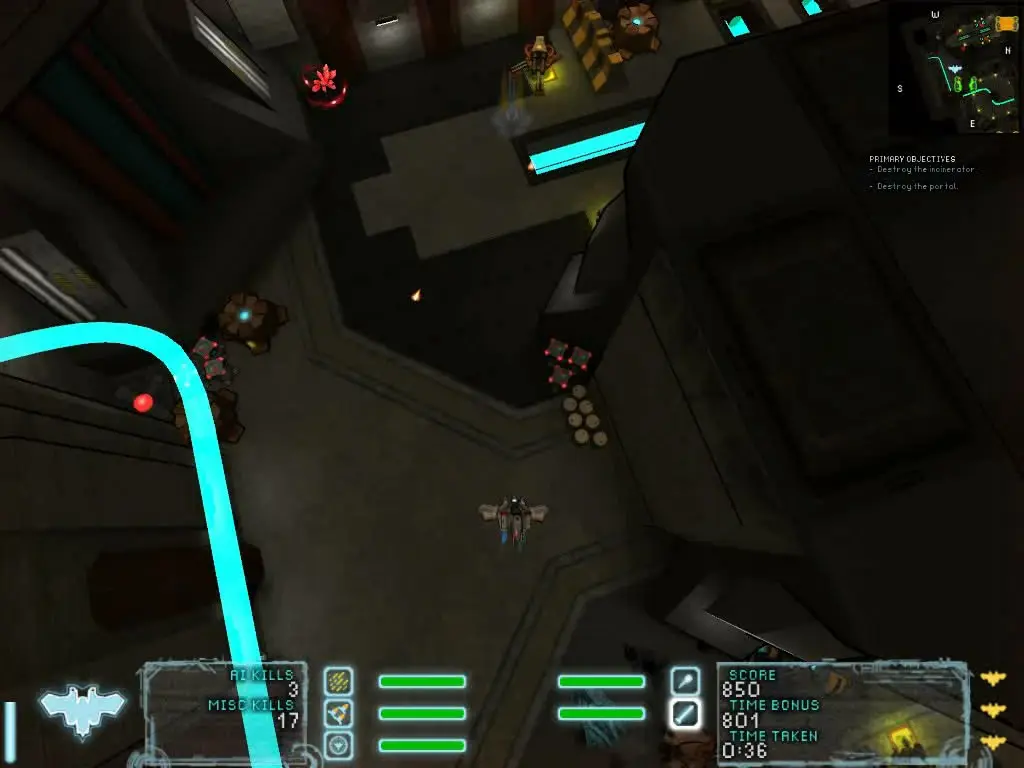
Starting the level, wait for your allied tank to make his way towards the first forcefield blocking your path at point A. As mentioned in the mission briefing, your allied tank has the power to disable most of the forcefields in your way in this level and keeping it alive, versus using the pressure plates to drop fields if it dies, will prevent you from fighting extra waves of enemies triggered by the use of said pads. If you’re looking for more destruction however, you can still trigger these pads to get points from the enemies killed.
Continue along the green path, protecting your allied tank to get past the next forcefields. Point 1 signifies the location of the alternative option, forcefield trigger before you reach point B. At point B you will find a trigger pad you must use to drop the next forcefield which your allied tank cannot drop itself, taking not of the Beam Cannon along the way. On the way to point 2 you will find a Storm Spread in one of the containers along the right side of the wall, before the cooling towers at point 2 itself.
If your allied tank perishes before you drop the two fields at point 5, you can destroy the cooling towers at point 2 to drop the nearby forcefield although beware a pair of Heavy Proton Tanks guard these pads along with some turrets. Using pad 4 drops the first field and will spawn an additional 3 Lightning Tanks at point 5 while pad 3 drops the field just east of the first however with no additional spawns.
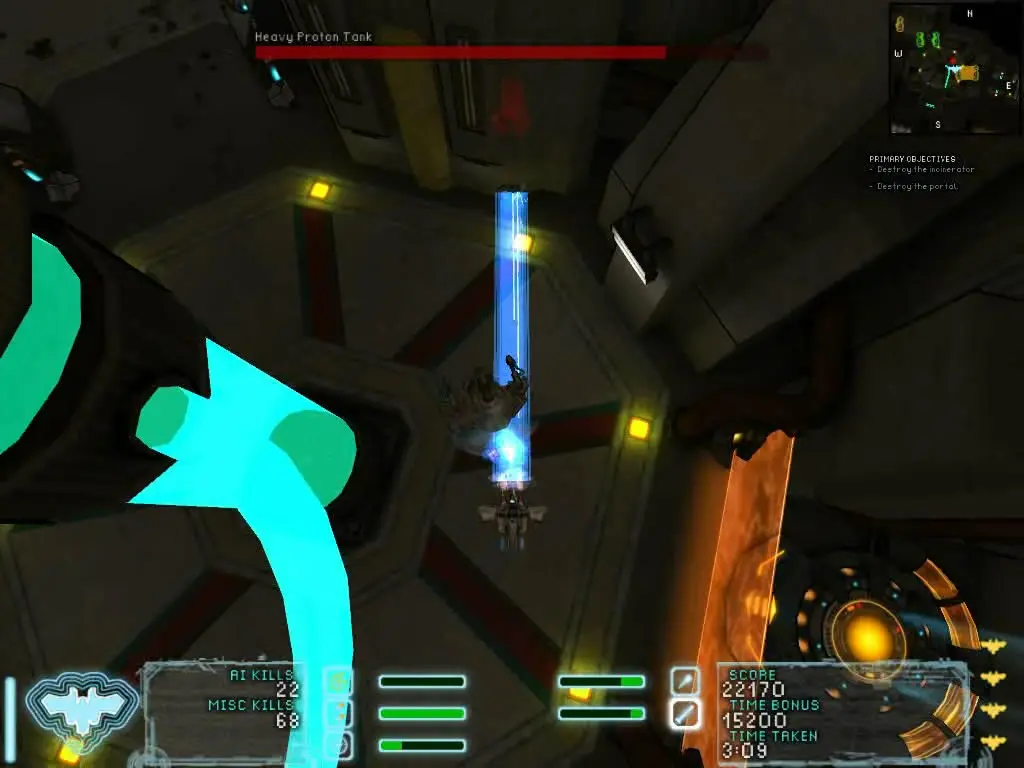
At point C you will find a Heavy Proton Tank that is the biggest threat to the destruction of your ally if still alive. If you don’t have the allied tank to disable the field blocking the teleporter at C at the end of this fight, you can use the pad at point 6to drop the same field, however spawning a nearby Heavy Minigun Tank with 2 Lightning Tanks.
Take the teleporter at point C to jump up to the raised platform area just ahead. You will find a Shockwave here, but approach it slowly as coming near it spawns three Rocket Turrets, two behind and one in front of you. Quickly move back and set off the Shockwave to disable the turrets and repel any of the missiles flying at you. Finish these off before taking out the one ahead of you to clear the path to the teleporter at point D.
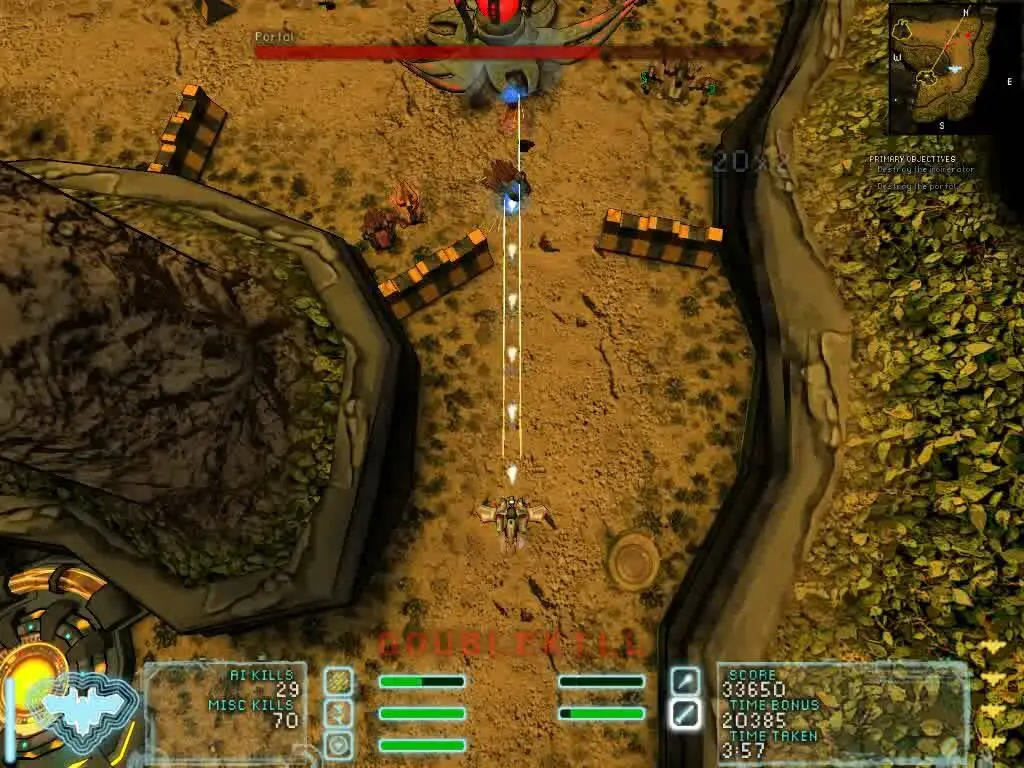
Taking the teleporter at point D will take you to point E. Now follow the blue path towards point Fand the Portal and Incinerator that sits behind that. The Portal and it’s defenders are pretty dangerous, with two Heavy Minigun Tanks that begin patrolling it along with the possibility of the Portal to spawn additional Heavy Tanks in its waves, not to mention practically guaranteed Lightning Tank support. Make liberal use of the Shockwave and cover to stay alive and if you have Homing Missiles then that’s all the better, allowing you to hide behind barriers and curve your ordnance around into the enemies.
Once you’ve managed to plow apart the defenders long enough to drop the Portal’s health below it spawns another wave, move beyond it to find the Incinerator which you should have no problem taking out at this point. Watch out for a single Lightning Tank that spawns upon the Portal’s destruction right near where you teleported in. Once these two buildings are down, you can head back through the teleporter to arrive back at the exit pad which you can now use with its forcefield dropped.


