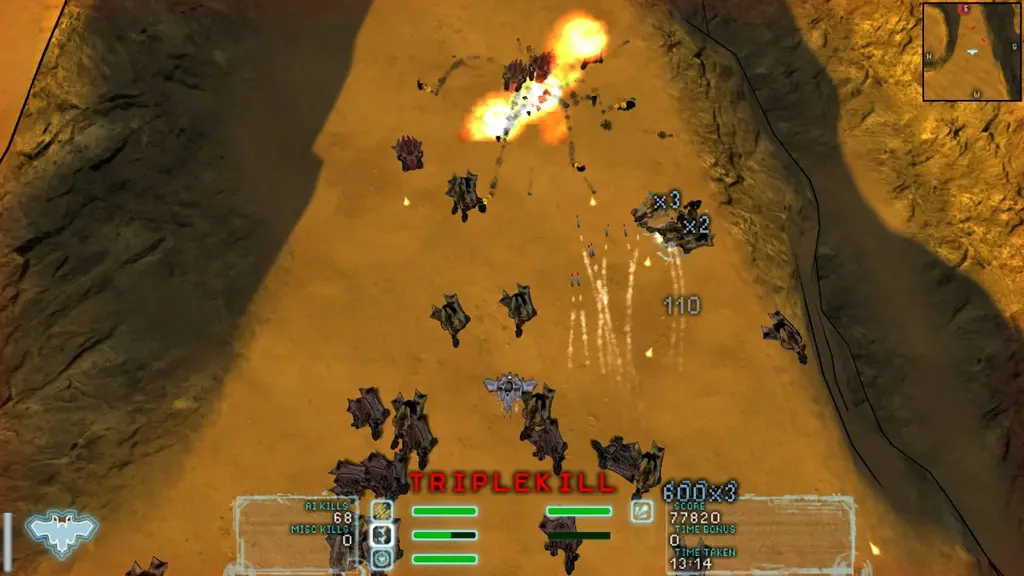
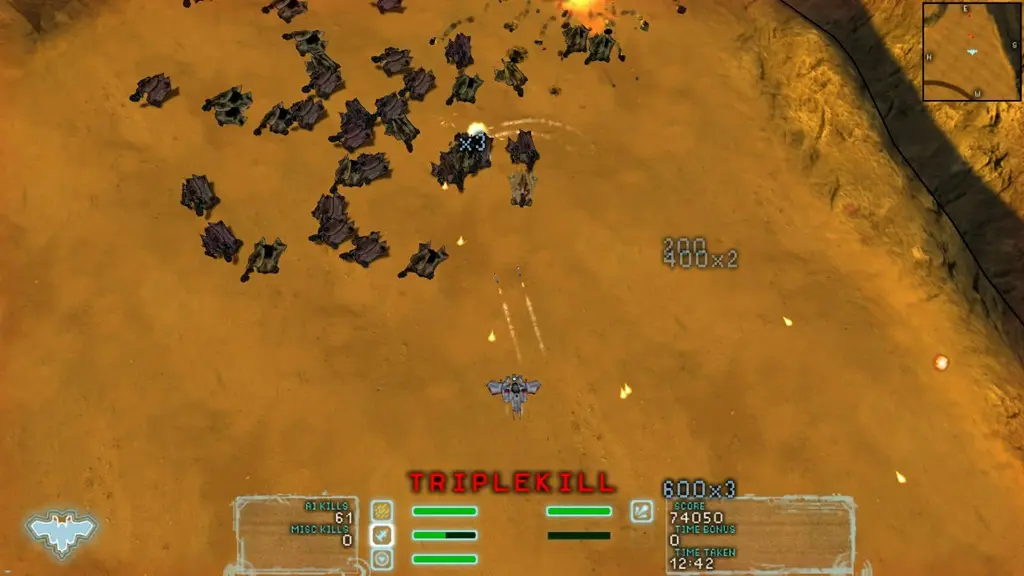
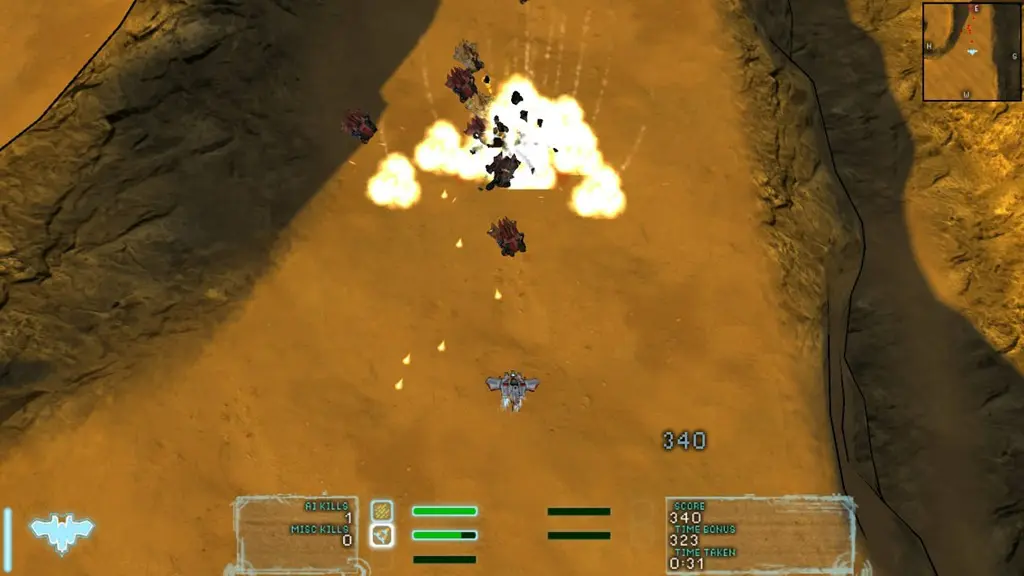
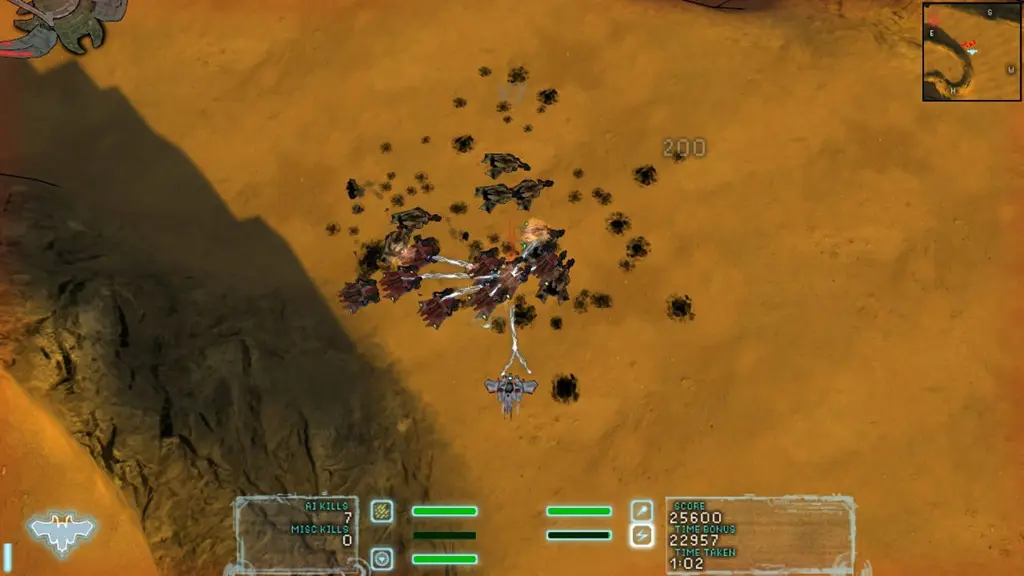
The Secondary group of weapons are fired with the Mouse 2 key (right click) by default, providing heavier firepower for your tank. Normally you can only fire one of either the energy or ballistic weapons at a time but if you use the shift key to switch back and forth quickly, you can actually use both simultaneously.
Secondary Ballistic Weapons
Secondary Ballistics consist of several different varieties of missile launchers for causing serious destruction among your foes.
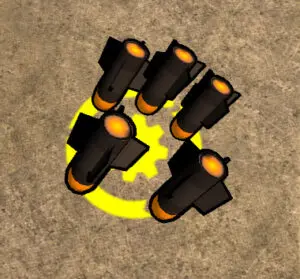
Rocket Pod
An excellent close to medium range weapon, the Rocket Pod unleashes a thick burst of missiles that spread out to do serious damage to any enemies caught within the blast. This weapon is equally effective against all enemy types as long as you can get close enough to fire them.
Homing Missile
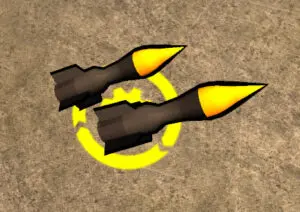
The Homing Missiles are launched as a pair of high explosive missiles that chase down nearby enemy targets. Homing Missiles are good at short to long range but are far more effective against slower or stationary targets as the faster Light and Lightning Tanks can dodge the less maneuverable Homing Missiles.
What makes this weapon particularly useful is the ability to fire them from around a corner or from behind an obstruction to hit enemies not directly in your line of sight. In this way Homing Missiles can be used to destroy a number of enemies without ever exposing yourself to return fire. Lastly this is the best weapon to hit targets flying above or on the ground below you, since the missiles can travel up and down through the air as well.
MIRV
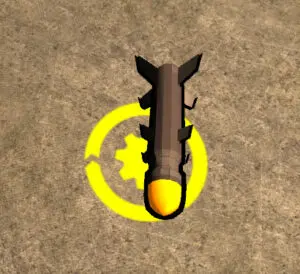
The MIRV is a medium to long range weapon effective against large groups of enemies. This weapon launches a single missile that fly straight into the air before arcing ahead of your tank, splitting into multiple warheads and falling back to the ground about halfway up the screen. MIRVs are ineffective at close range due to the set distance they must travel before coming back down again, however they can be used to hit enemy targets behind force fields or otherwise unreachable.
Secondary Energy Weapons
Secondary Energy Weapons take up their own slot separate from the ballistic weapons which allow you to switch between the two depending on your need at the time.
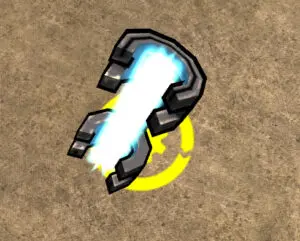
Beam Cannon
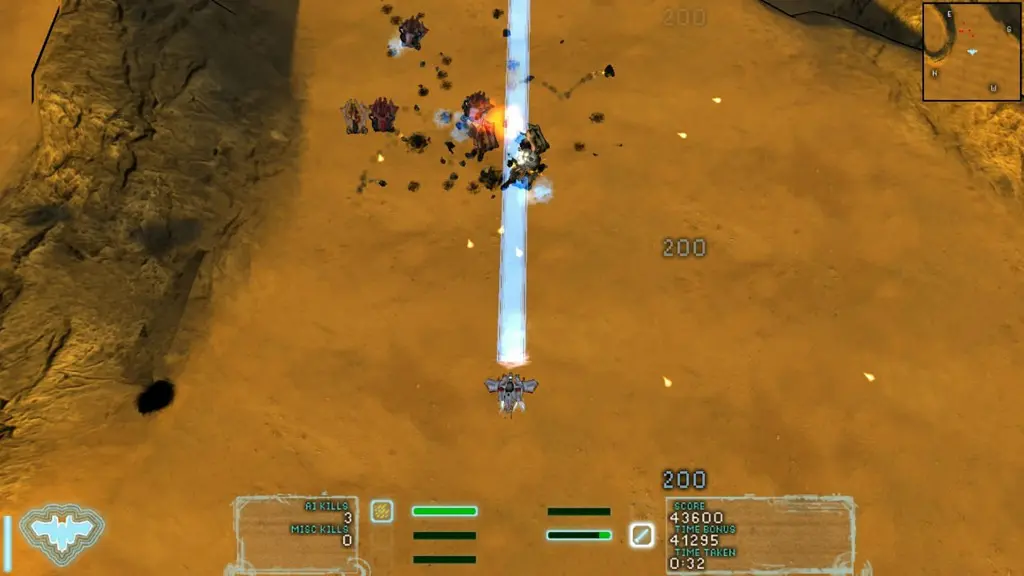
The Beam Cannon fires a concentrated heavy laser directly in front of your Tank and is the heaviest direct damage dealer at your disposal. A single complete blast is enough to completely destroy a turret or Medium Tank. This weapon is also excellent against the Heavy tanks, bosses and for destroying buildings. Its one drawback comes in its limited ability to handle large groups of enemies that are spread out, although sweeps from right to left can help compensate, rocket pods and MIRVs are still better for this purpose.
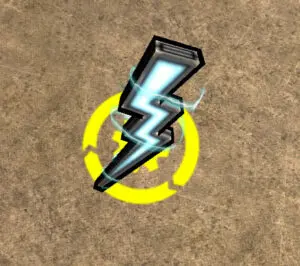
Thunderbolt
The Thunderbolt is similar to the weapon fired by the Lightning Tank but of a stronger variety. While being a short range weapon with low damage, its benefits come from causing whatever it hits to be temporarily disabled while being able to jump to nearby enemy units.
The Thunderbolt can effectively disable entire squads of tightly packed ships and when combined with timed blasts of the Shockwave, can be used to keep your enemies dead in the water indefinitely while you strip the of hull and armor.

