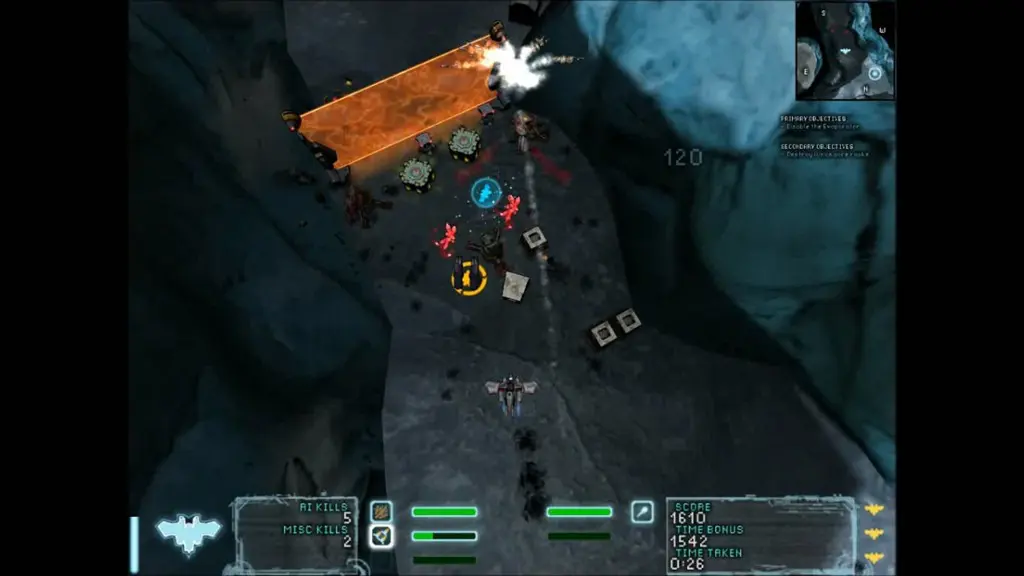
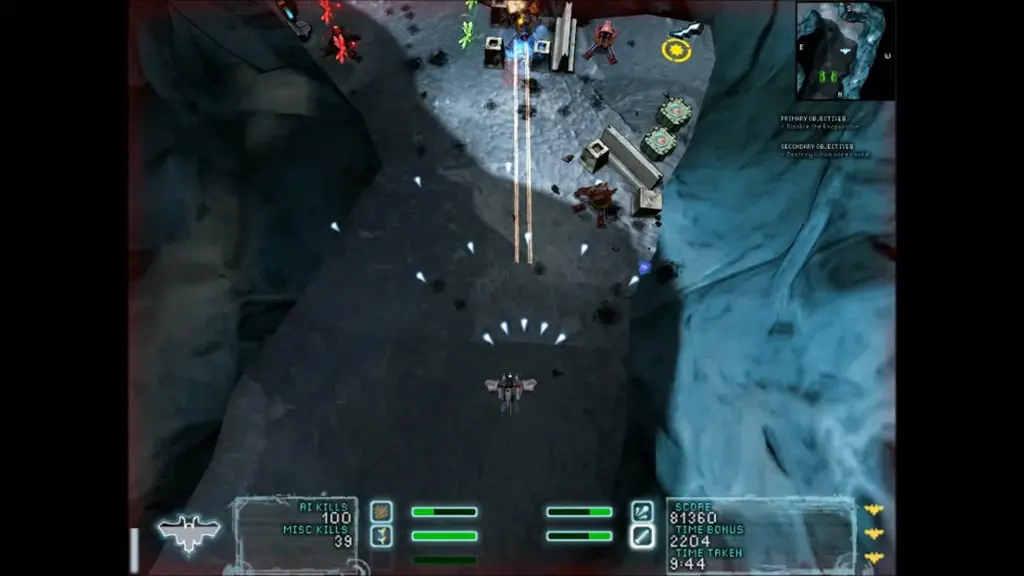
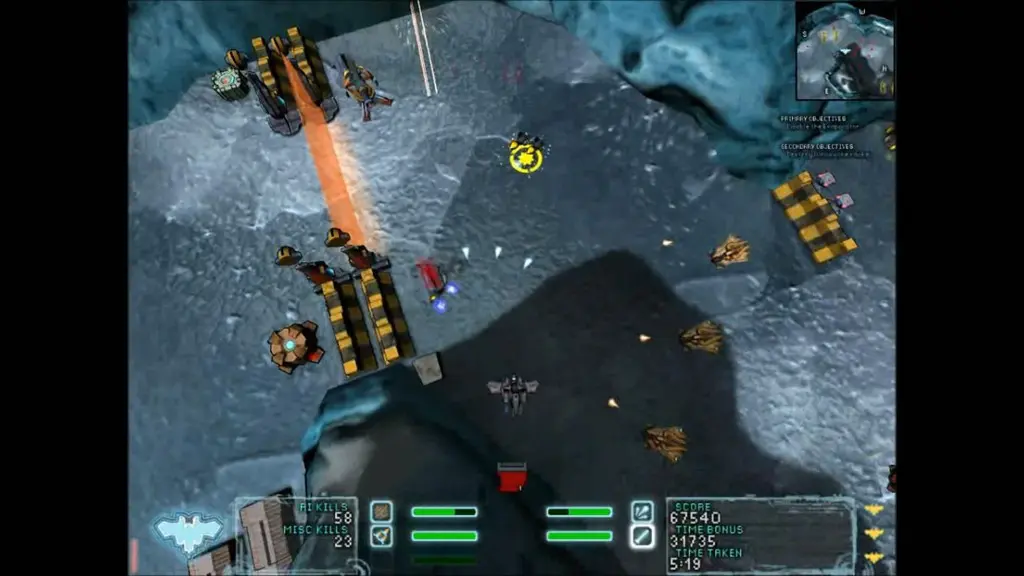
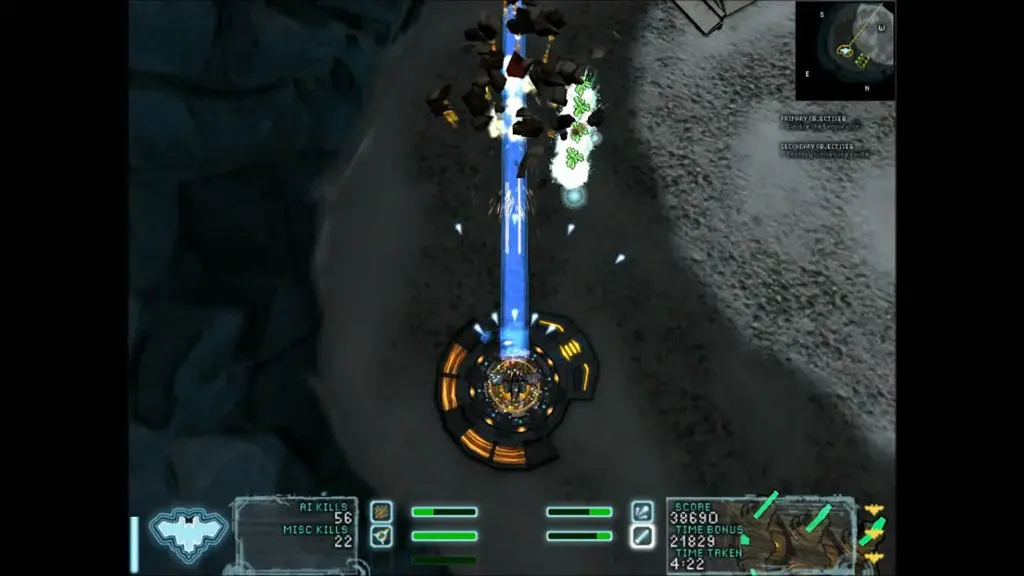
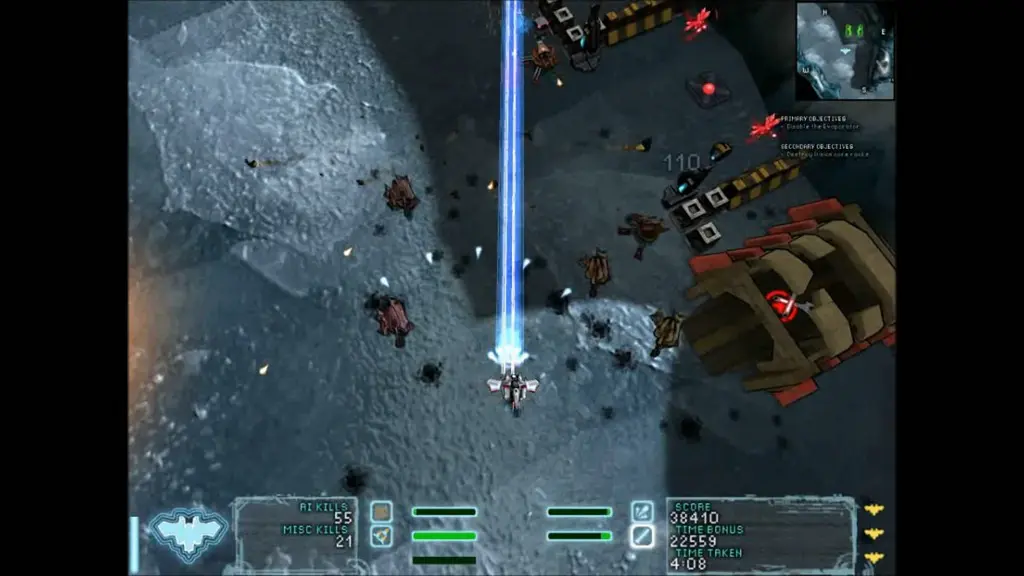
The second and final mission in chapter 1 of Episode 2 in Steel Storm, Numb Steel, takes you back to the frozen meteorite to continue in the same map as previously, although now focusing on the southern half of the map which was previously inaccessible while the part you covered before is now locked off. Your task here will be to interrupt the enemies ability to harvest water from the ice which they do so with a large mining platform.
Level Progression and Tips:
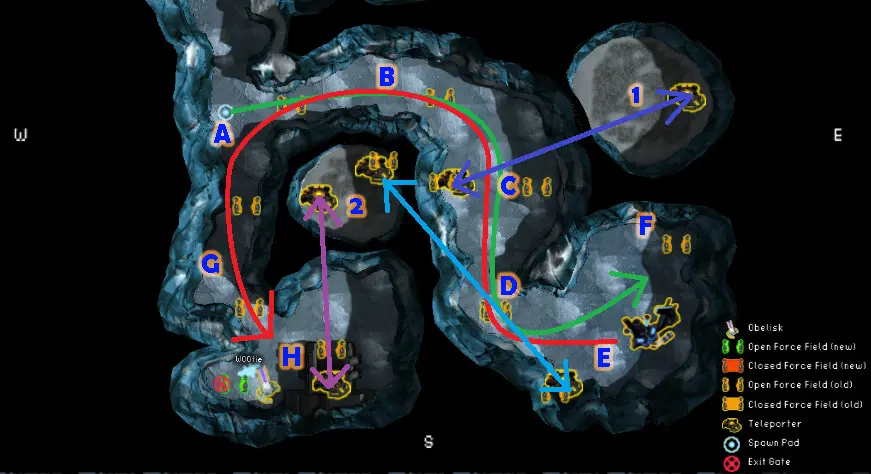
You will begin with your tank spawning at point A. Before heading along the green path you should check just to the south of your starting position to find a Flak Cannon and some more pickups, although be cautious as approaching them will spawn a light ambush. Fend these guys off to secure the items and bonus crystals before working your way towards B. If you lost the Storm Plow from the previous mission, you can pick up another just north of the start location.
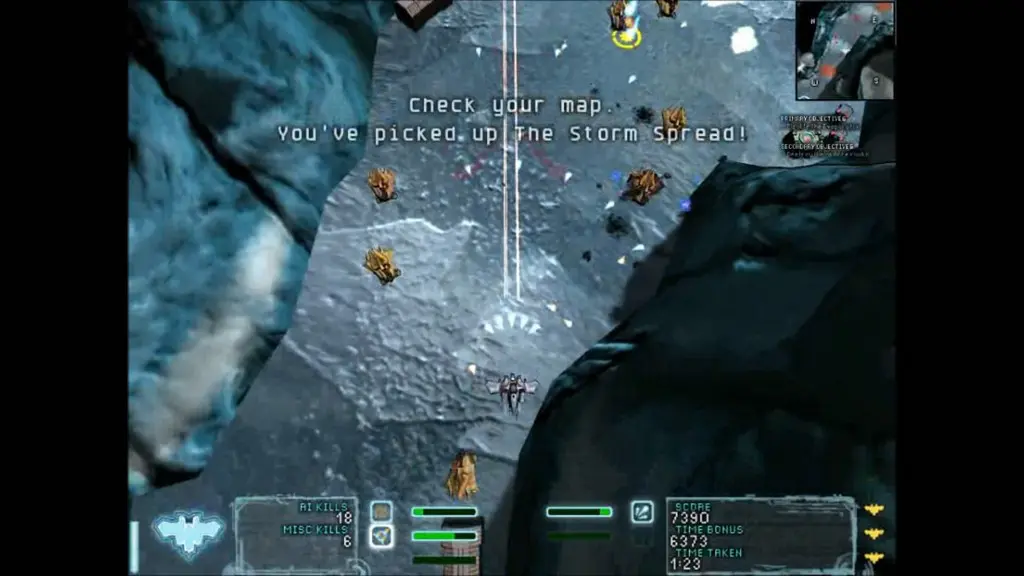
Approaching point B, you will be ambushed with some various tanks including a couple Lightning ones. Fighting them off and travelling to point B you can find the Storm Spread weapon which is worth picking up and quickly using to fend off a new larger ambush that is triggered by its retrieval or just approaching it. This wave will cause the forcefields around point B to come up for the duration of the fight that ensues, dropping once more when the final enemy tank is down.
Point C will bring with it more closed gates and ambushes, however presenting you with the opportunity to pick up the Beam Cannon which will present you with an excellent tool for quick disposal of turrets from long range.
After fighting off the first waves of enemies that spawn to attack you in this area, move to point D where you will find a pair of consoles controlling a dual forcefield. One of these will be hackable right away while the other requires a keycard. Begin hacking the first blue console to drop the forcefield that protects the trigger pad at point C which in turn deactivates the forcefield around the teleporter right across from it, still at point C. Some new turrets will spawn near the trigger pad along with some tanks after hacking the console.
Take the teleporter at point C which takes you along the purple path to point 1. Here you will find a pair of fusion core racks that you should destroy from the pad or further away before approaching the Rocket Turrets on the far end of this enclosed space. If the Rocket Turrets fire on you with the racks still up, they could potentially detonate the racks while you are nearby them and completely blow you away. Once the two racks and two turrets are gone, pick up all the bonus crystals along with the first red keycard and go back through the teleporter.
Use the keycard to access the second console at point D and stop immediately as the next wave of ambushing enemies spawn during the access attempt. Do not stay still until the hack is finished, as it is liable to kill you. Instead quickly take out the Heavy Beam Turret and pick up the Rocket Pod that spawns, turning it against the condensed group of tanks that come to engage you. Once you’ve cleared the area you can return to your previous business of bringing down the forcefield with the keycard to head towards point F.
At E you will face a wide array of enemies, however for the time being your main focus will not be on the Evaporator, instead clearing the area so you can hack the terminal at point F. This terminal will drop the adjacent forcefield which gives you access to a trigger pad which in turn unlocks the forcefield between A and G. Now it is time to backtrack to these locations, making your way along the red path towards G.
Upon reaching point G you will find a Thunderbolt secondary energy weapon you can pick up to use, although I would suggest sticking with the Beam Cannon. Clear up the enemies here making sure to focus on the Repair Turret before heading further to point H where you can find the exit portal guarded by an active forcefield next to a building with a forcefield blocking its entrance and a hackable terminal against it. Clear the area and hack this terminal to drop its forcefield, allowing you to enter the building and take the Teleporter (purple path) to point 2.
At point 2 you can destroy the third and final fusion core, then picking up the corrupted core and taking it to the other teleporter (light blue path) to point E where you can insert the corrupted core into the Evaporator, thus completing your primary objective and dropping 2 red keycards for you to pick up and take back to point H using the teleporters, stopping to fight the Heavy Proton Tank spawned by your disabling of the Evaporator.
Arriving back at point H, use both keycards on both consoles next to the exit portal. This triggers another Heavy Proton Tank which will have to be destroyed before the forcefield guarding the exit portal finally drops, spawning some bonus crystals in front of it in the process.
