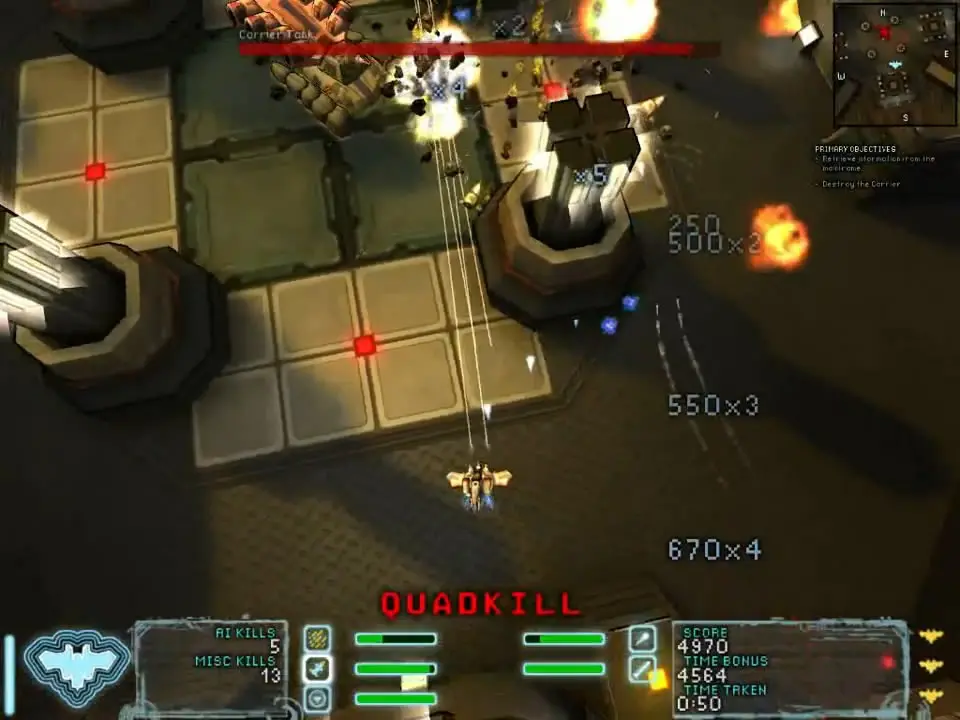
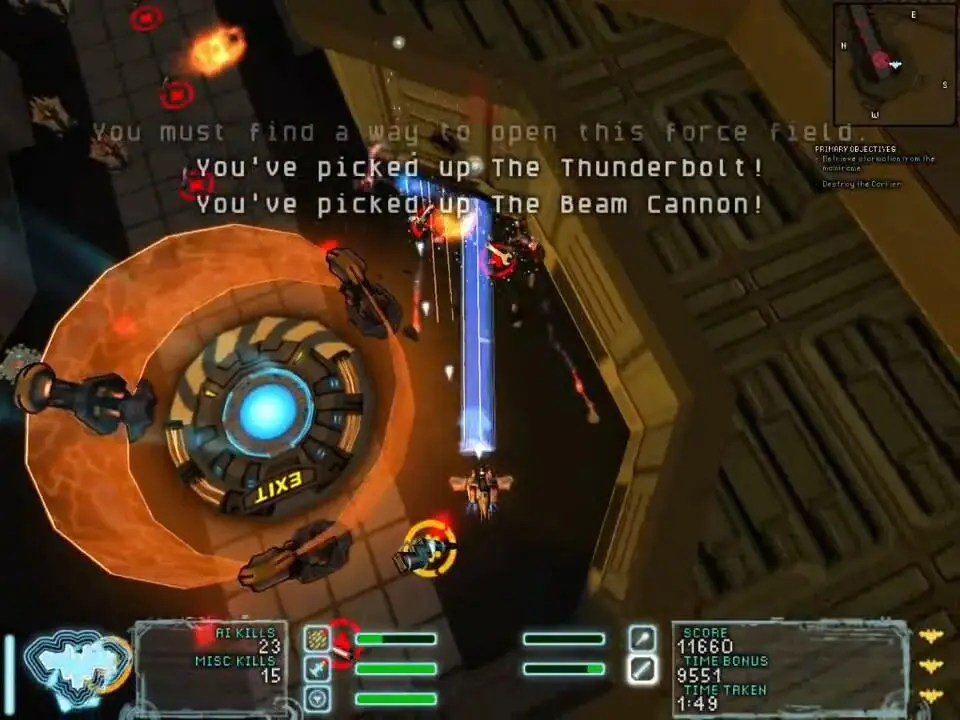
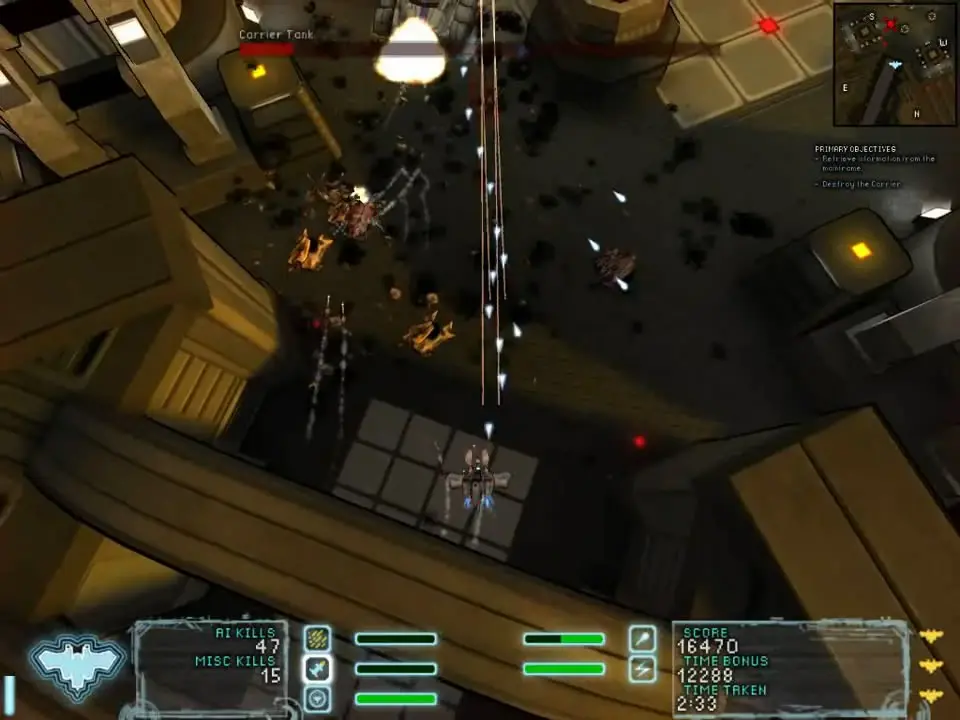
After leaving the previous level you are transported to an unknown alien hangar in a strange location. Intel suggests that the enemy has deployed a large vehicle known as the Carrier. Get ready for your first boss fight in Steel Storm Burning Retribution.
Level Progression and Tips:
This mission is pretty much revolving completely around your fight with the Carrier with little else in the way of real tasks to accomplish, although this fight is no joke. First off, it helps immensely to start this level with the Beam Cannon along with the Homing Missile from The Network as its unique abilities will be almost necessary here. Get a bearing of the level with the knowledge that the Carrier will stick mostly to the central area although smaller units launched by the Carrier along with tank spawns will complicate things.
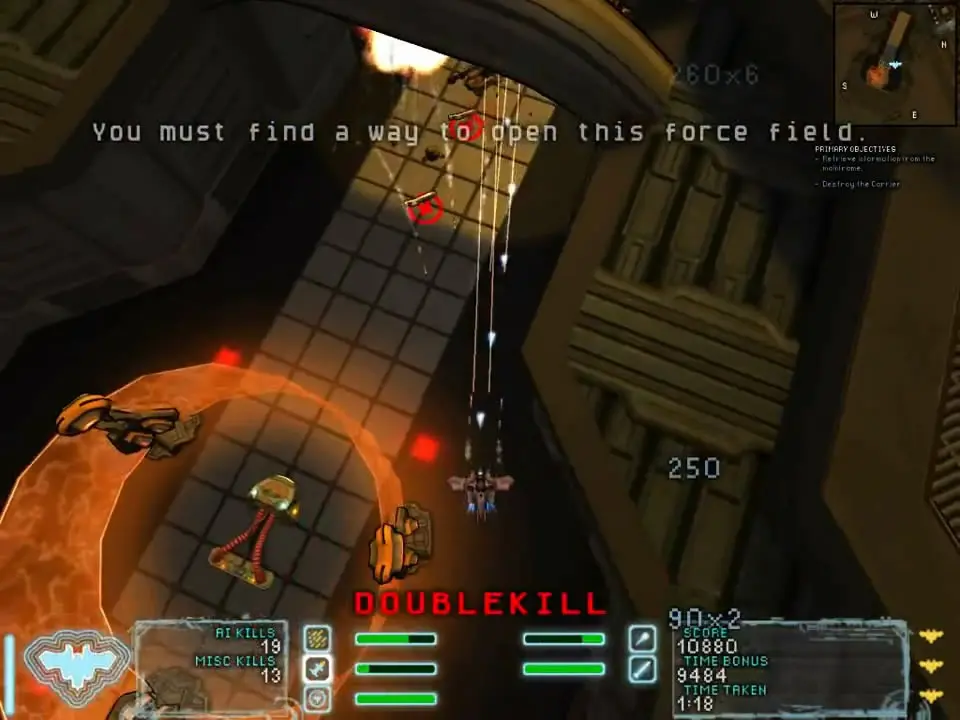
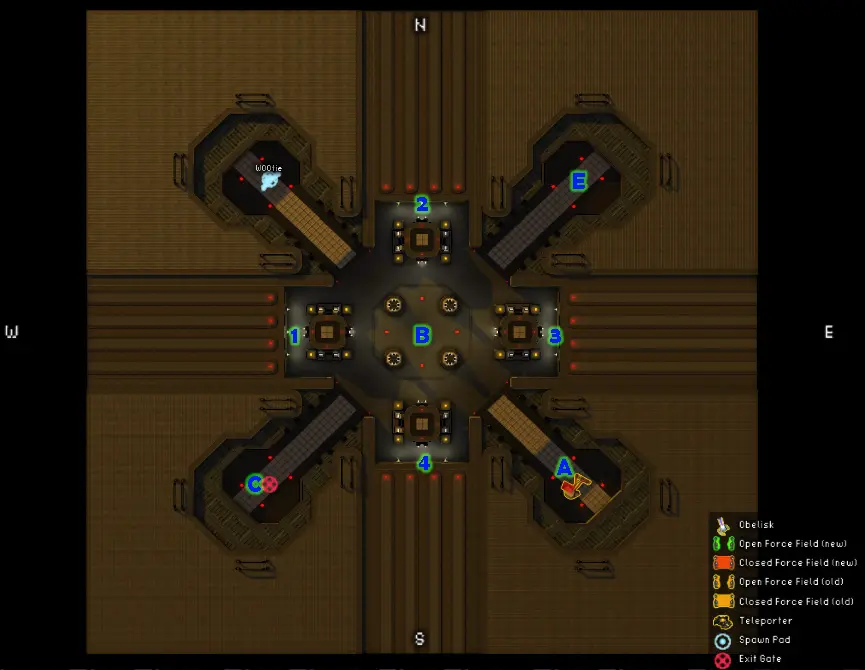
Initially there are no enemies on the map and your first task will be to travel to point A to attempt to access the control panel there. As soon as you approach it a forcefield will activate and the Carrier will spawn in the center, beginning its attack.
The Carrier itself isn’t exactly armed relying instead on a constant stream of hovering units that launch out of its back sides. These hovering units can only be hit by your Shockwave or more importantly, your Homing Missiles which can curve up into the air and strike them down. These units will fire their own missiles at you that have light homing capabilities but can be easily dodged or repelled with a Shockwave. Beyond its launched units, the Carrier has a Shockwave that triggers every so often, repelling some of your shots, along with a Repair Turret beam attached to its nose, allowing it to continually resurrect other fallen enemies. When firing on the Carrier directly, switch from Homing Missiles to the Beam Cannon for high damage that cannot be repelled.
During the fight, as you start to cause serious damage to the Carrier, several groups of enemy tanks will begin to continuously spawn in the plaza around the Carriers starting position. When these come out, you can draw them away from the Carrier into the various hallways to manage the amount of targets you have to deal with at once.
Some of the various points on the map up top are marked in order to describe which pickups they contain which will be listed as follows: (some may be in containers)
- Point 1: Extra Life and 2 Armor Plates
- Point 2: Shield and 2 Armor Plates
- Point 3: 1 Full Armor
- Point 4: 2 Shields
- Point C: 10 Armor Plates, Thunderbolt and Storm Shield
- Point A: 4 Armor Plates in the hallway.
- Point E: 4 Shields, 4 Full Armor, 1 Armor Plate, Storm Spread, Flak Cannon, Beam Cannon, Homing Missile(These items spawn in two groups triggered by how heavily damaged the Carrier is.)
- Spawn Point: 4 Shields, 3 Armor Plates, Rocket Pod, MIRV, Full Armor (again some of these items only spawn after the Carrier has taken significant damage)
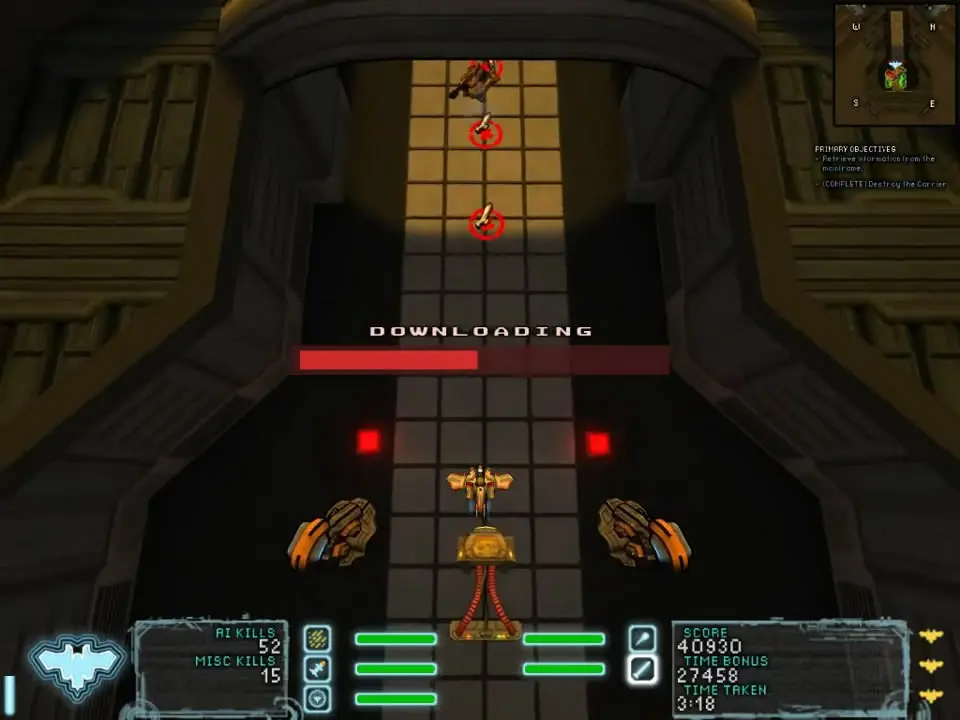
Pull back to these points as you need the pickups they offer you and continue to duke it out with the Carrier following the strategies mentioned above. Once you’ve downed the beast you can wipe up the remaining spawns which will stop coming at this point before wrapping things up here. With the coast clear, you can now access the control panel at point A to have all your primary objectives satisfied before being able to leave the mission via the exit pad at point C. With this, you have completed the second chapter of Episode 2 in Steel Storm Burning Retribution.
